
I could have used some fancier vinyl but we decided to just go plain jane white with some I found on sale for about $5 a running yard instead of the $20 grooved fancy stuff. She was afraid the vinyl would be too thick for her sewing machine and it was so we went with plan B- folding, stretching, tucking, glue and stainless steel staples. The wife get's all the credit here as she took over and handled this part. This meant there would be no fancy colors or seams but it's a family play and fish boat and these will serve us well for number of years. I figure seams just offer a place for rot to start anyway...
I've got about $150 in supplies which saves us a bunch from the $500 that the pro wanted. He said it would take 2 sheets of foam and I managed to lay it out on only one sheet so that saved some money. I have enough foam and vinyl to make a couple of cooler seats or jump seats for the back of the boat too.
Sorry the pictures aren't better. I took them with the cell phone and it was getting dark. The extra ropes hanging in the pictures are to support the cover that I was about to put on.
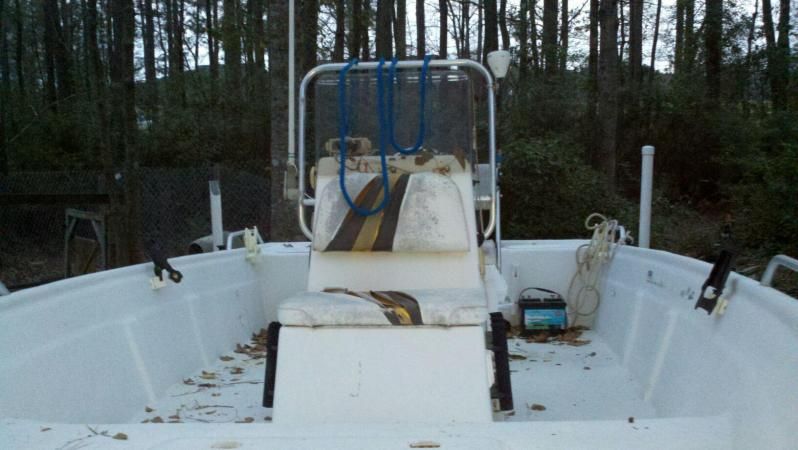
From this-
The old back seat-
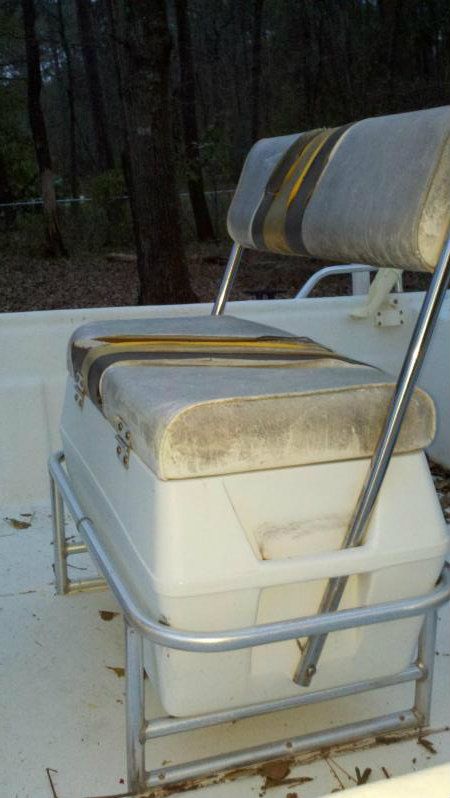
The old front seat-
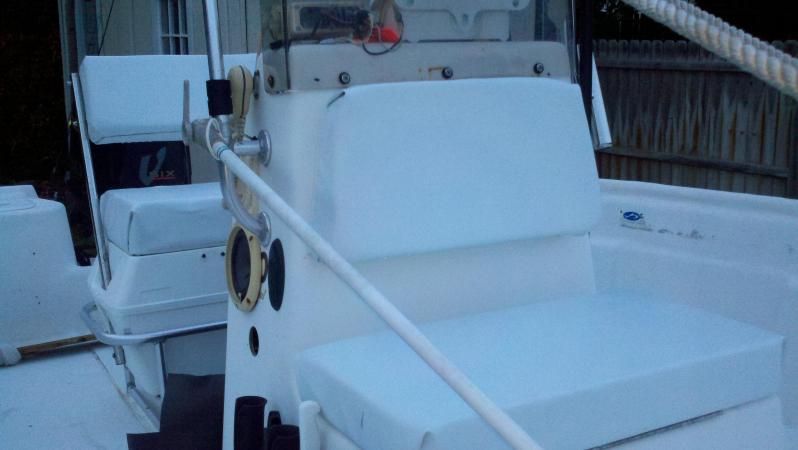
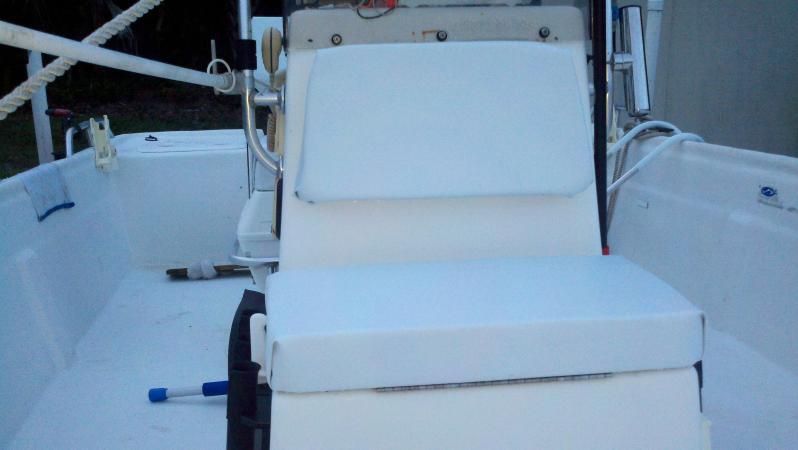
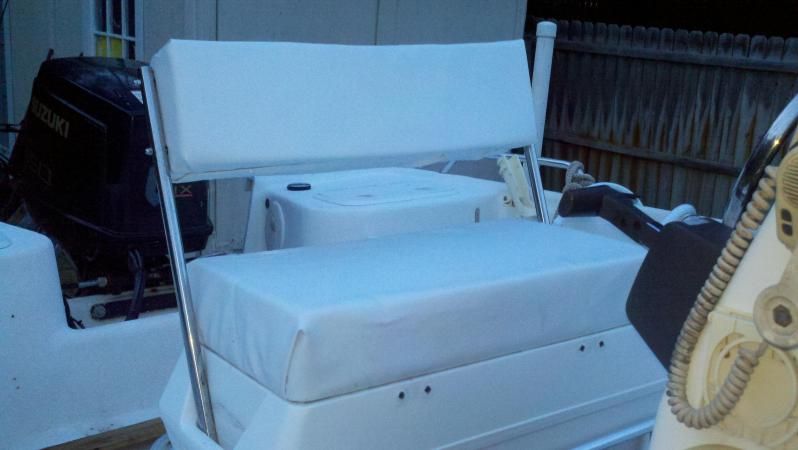
To these-
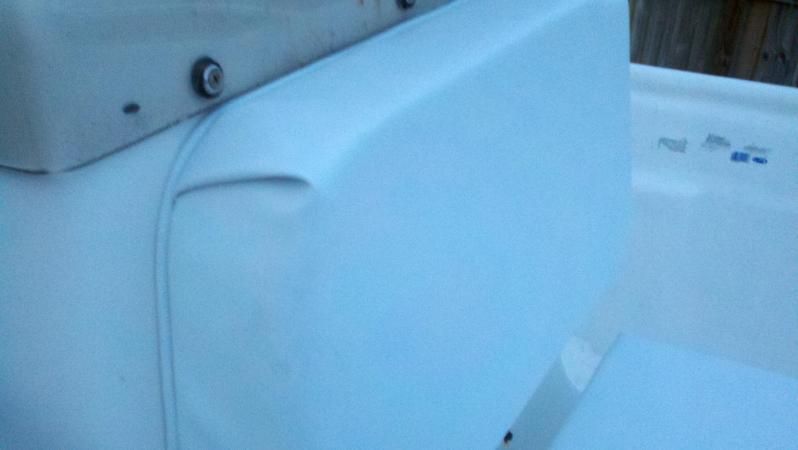
The front replacement after fixing the broken backer board on the bottom-
The back seat. I've still got to put the 2 stainless hinges back on. The old bolts were permanently stuck on with 5200. We had to wing it on the top as there wasn’t a good way to get the round shape even though the internal support is oval shaped. We like the square better anyway and it has 3 inches of cushion instead of 1 inch cushion and you get a taller back rest-
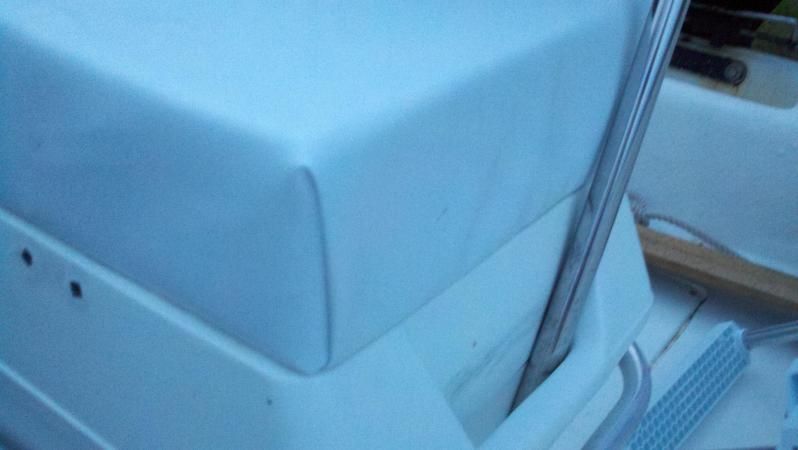
The wife did a great job cutting the vinyl and folding and tucking it without using a sewing machine. This is the back seat bottom cushion edge.
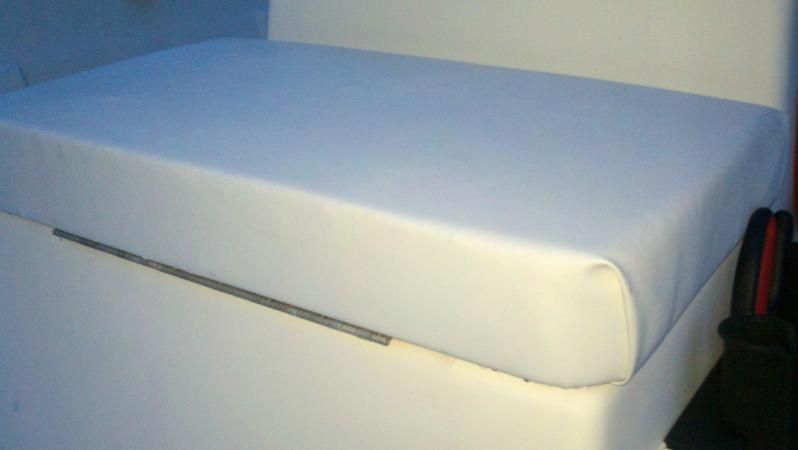
A close view of the front bottom seat-
The back rest on the front seat didn’t pull all the way up flush so I rolled and glued some extra vinyl and made a filler to keep stuff from gathering behind the seat and to look more finished.