Fast forward a few years and an old school Lowsider was posted on CL for cheap. It came with a title so it seemed perfect for our next project. I can't find any pictures of it from the day I brought it home, but it was in rough shape. The transom was rotten and needed to be replaced, the seats / livewell all had cracks in them, the flotation was waterlogged and ant-infested, and the owner had done his own "glass work repairs". I would be too complimentary if I called it a half-ass job. The boat featured many different colors from previous paint jobs, bad resin work, and filler.
A friend of my dad's gave us a trailer for free and another friend gave us a Sears Gamefisher 9.8 two stroke as well. What can I say, Pops has some good friends....but we still had lots of work ahead of us.
Needless to say, we had lots of sanding to do in our future. After going to town with a grinder several afternoons after work, we were able to get the gel coat off and the hull relatively smooth. Luckily, we didn't need to do any glasswork to the outside as the hull was still in good shape, but several rounds of filler and sanding were needed to get the hull smooth enough to paint. Before we got to the painting stage, we first had to tackle the issues on the inside of the boat.
Here's what the flotation foam looked like when we cut open the bench seats:
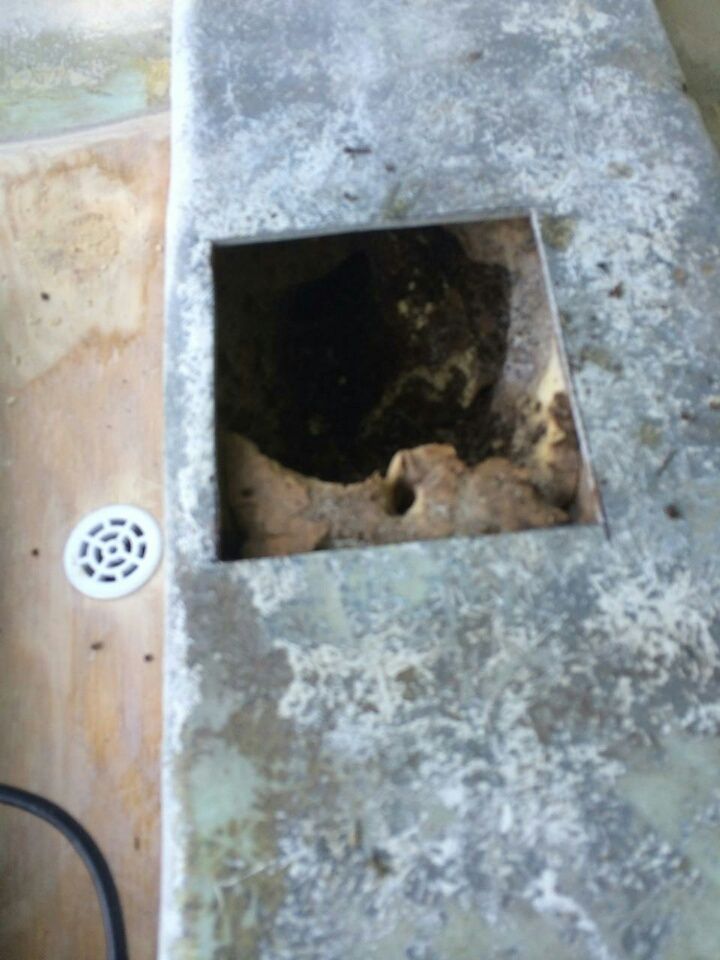
In the back bench, the flotation foam was almost non-existent. Here's a picture of a 6" screwdriver that didn't even touch foam when we pushed it through the old seat holes to "check" on the condition of the foam.
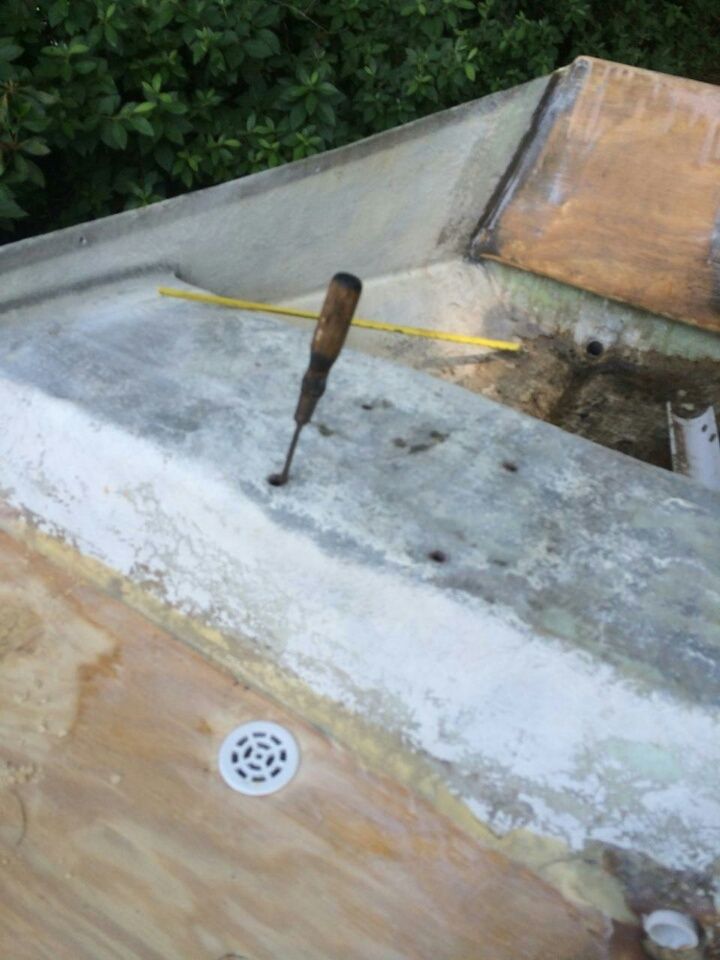
After removing the front bench and the livewell, we installed a drain pipe so that water could run under the soon-to-come false floor.
Here you can see the front bench and livewell have been removed and the drain pipe has been epoxied in. We took pieces from the cut-out bench seats and epoxied them in an attempt to make the surface relatively flat.
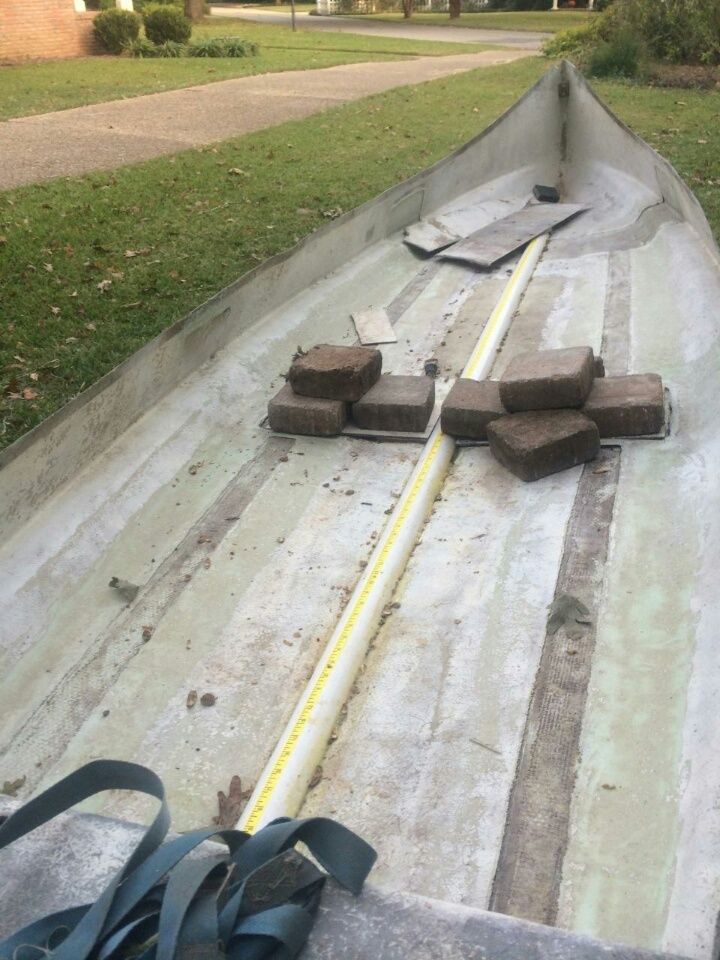
After the drain pipe was installed, it was time for the false floor. We used cardboard to make our templates and then drew them onto a sheet off plywood. Before installing the false floor, we put two coats of epoxy on both sides of the plywood in an attempt to make it semi-water proof. Here's a pic from right when we started applying the resin. You also get to see how rough the gheenoe was when we started...
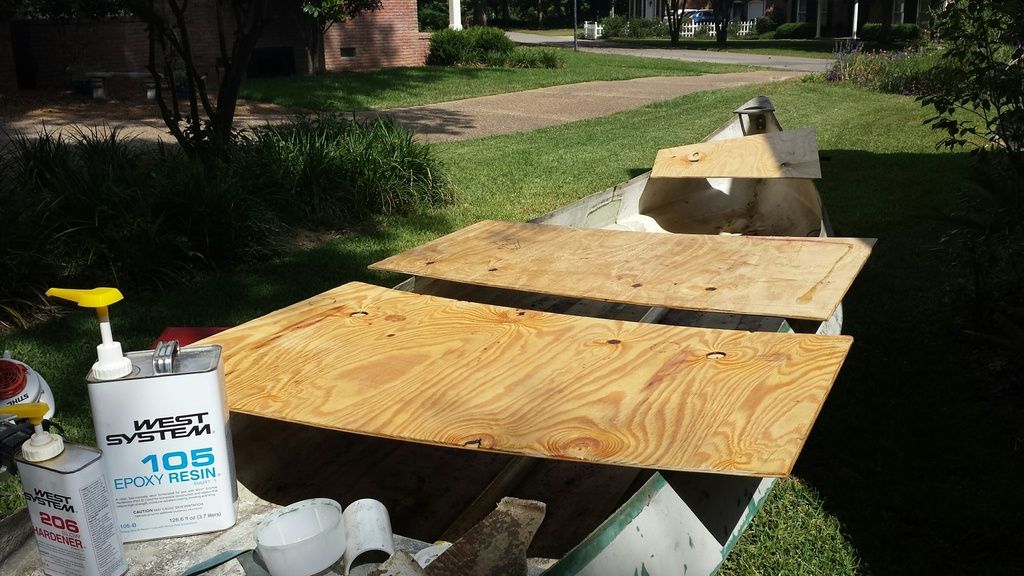
The next step was gluing in the false floor. Due to the length and frankly to make the job easier for us two rookies, we decided to cut the false floor into three pieces. The floor went in relatively easy, although we did have to take the grinder to the edges to make the transition from false floor to the real floor / sides in an attempt to make it look like one piece.
Waiting on the glue to dry on the false floor.
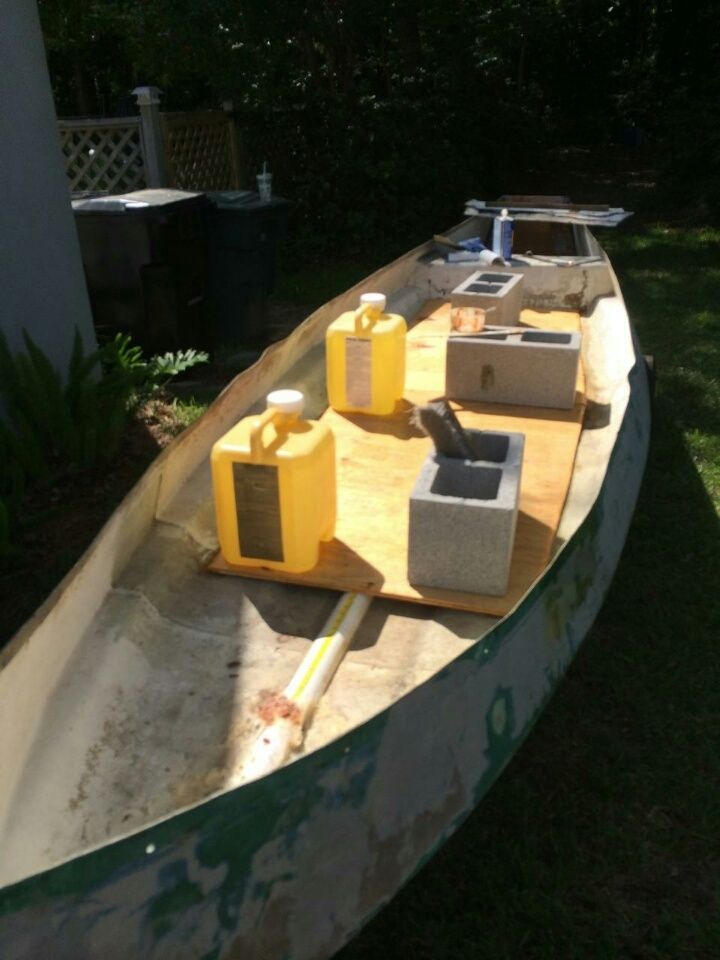
After the false floor was glued in, we needed to find a way to replace some of the flotation foam that was removed with the bench and livewell. Our solution was to cut holes from the flase floor and pour in two part foam to fill in the gap between the deck and the new floor.
The first few holes...we were both a little nervous.
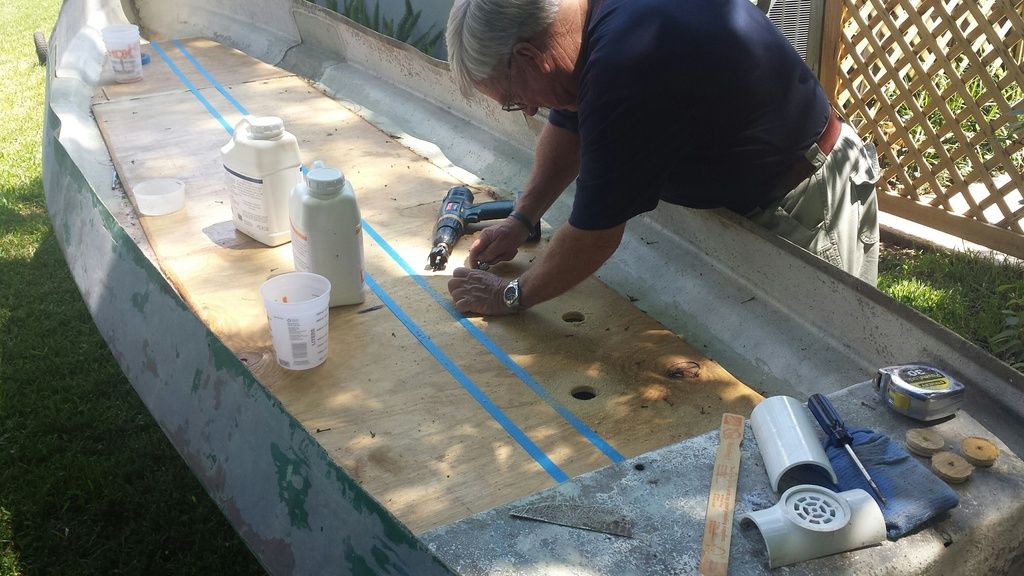
More holes...
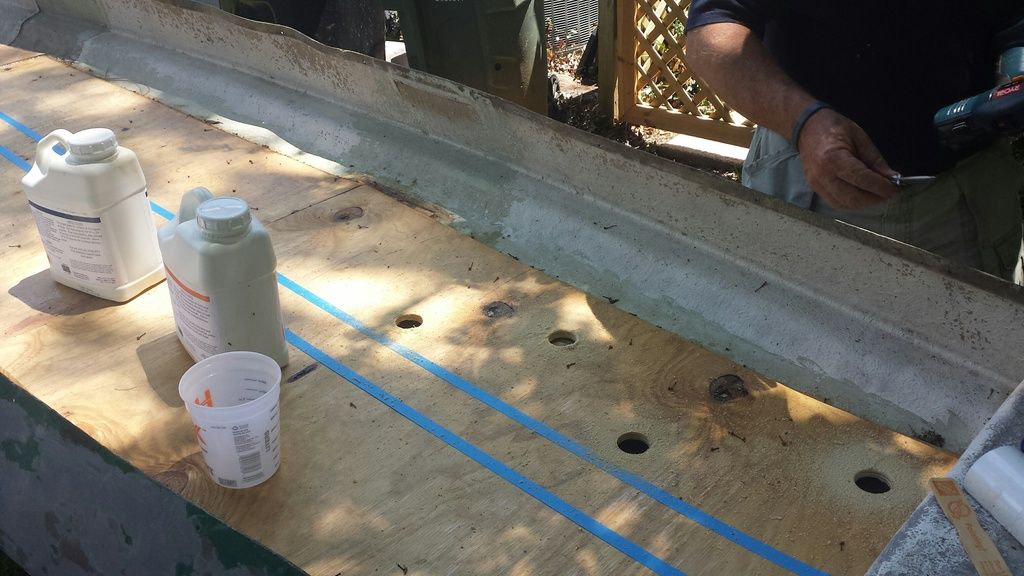
Once the holes were cut, we mixed and poured in the two-part foam. A couple things to note here, start slow and do one hole at a time. We started with small batches because the foam begins to expand very quickly. The foam filled in the gaps under the floor and really made it feel sturdy. Having the floor installed also tightened up the sides of the gheenoe at its widest point. I was nervous that removing the center bench would make the sides weak and once in place, the floor / foam combo really made a difference.
We also used the two part foam to replace the foam that had been in the back bench. It worked like a charm. My dad (a retired engineer and the brains behind the operation) decided that he didn't like the height of the bench seat and so he glassed in a piece of from an old center console to make a hump similar to those found on Classic's.
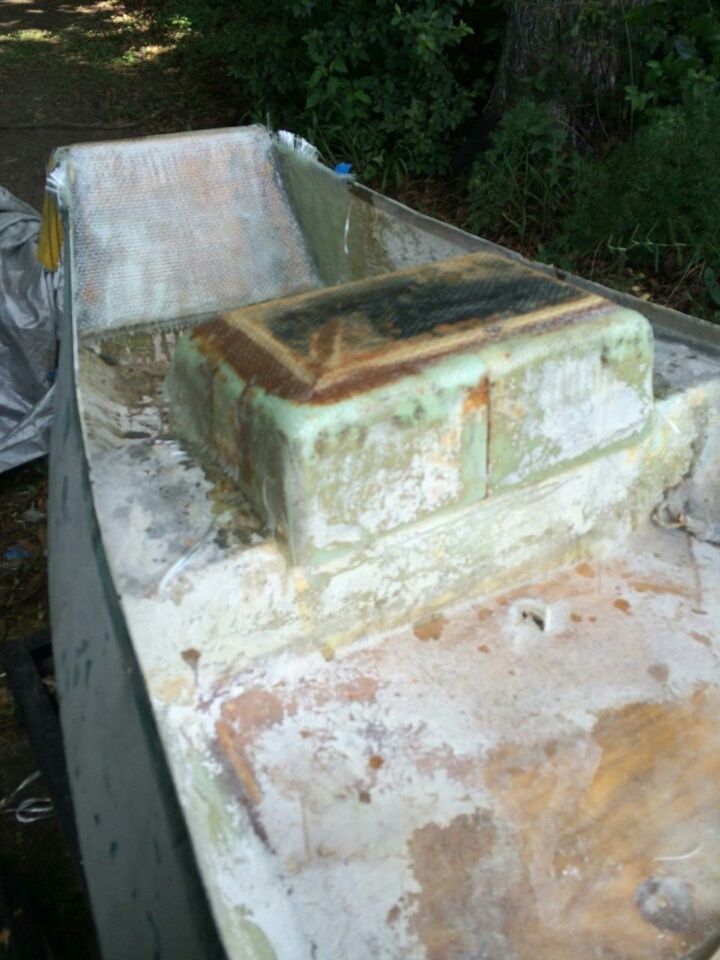
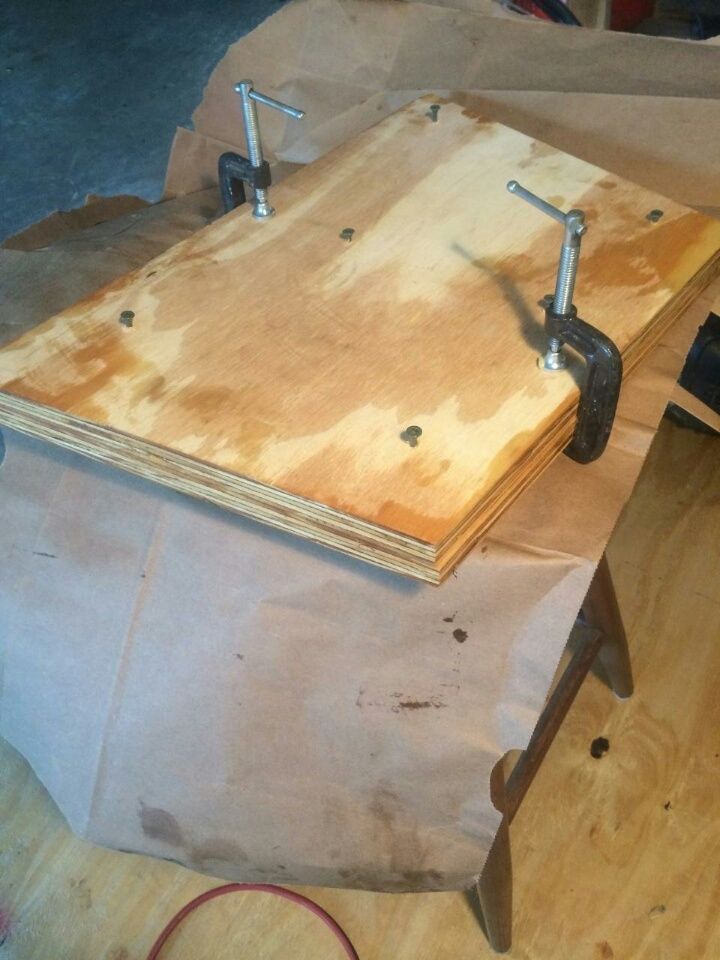
The transom was rotten and so we had to cut it out and then make a new one. After using our cardboard template, we took two pieces of 1" plywood and added resin to both sides. We applied our glue and then screwed them together.
Next we installed the new transom and glassed it in.
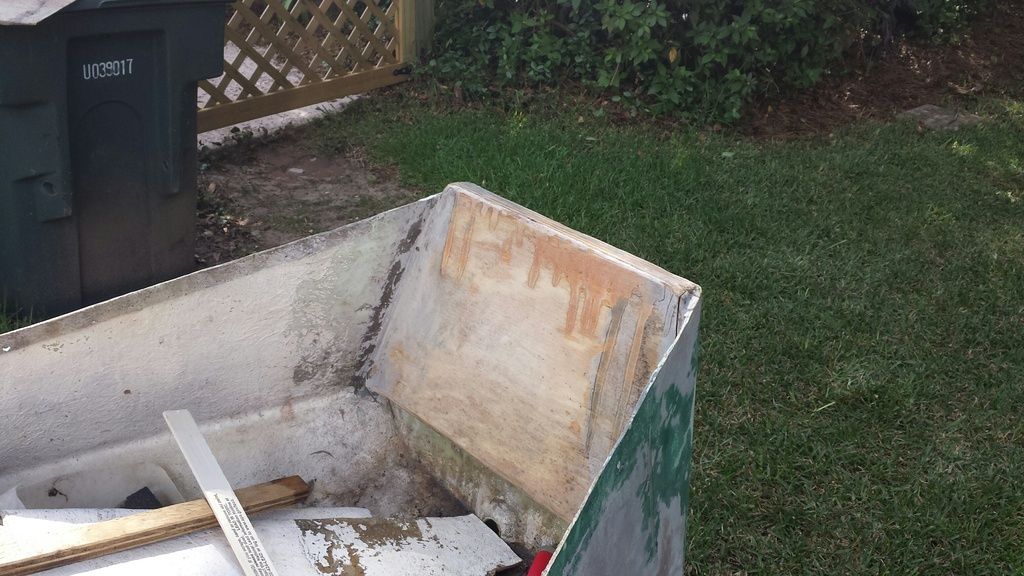
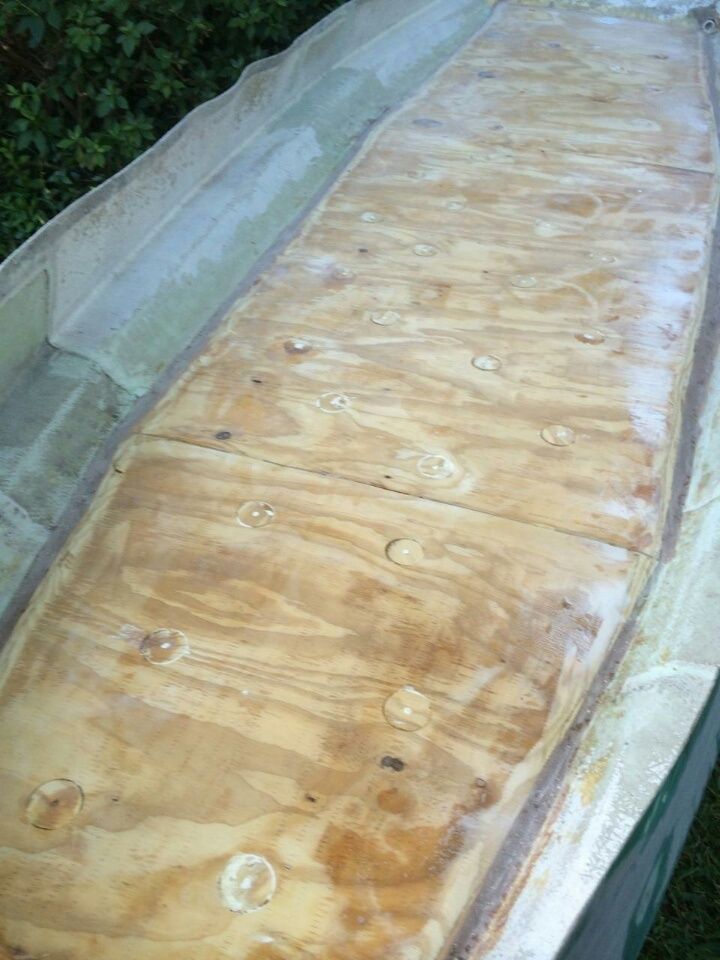
Once the transom was done, it was on to removing the overflow foam, reinserting the cutouts from the floor and the glassing it in. A relatively easy process.
Now that all the hard work was done, it was time for the gel coat application. We had some leftover from the previous build and so "dead grass" was the color used. Pops bought a spray gun and after some trial and error, coat one went on.
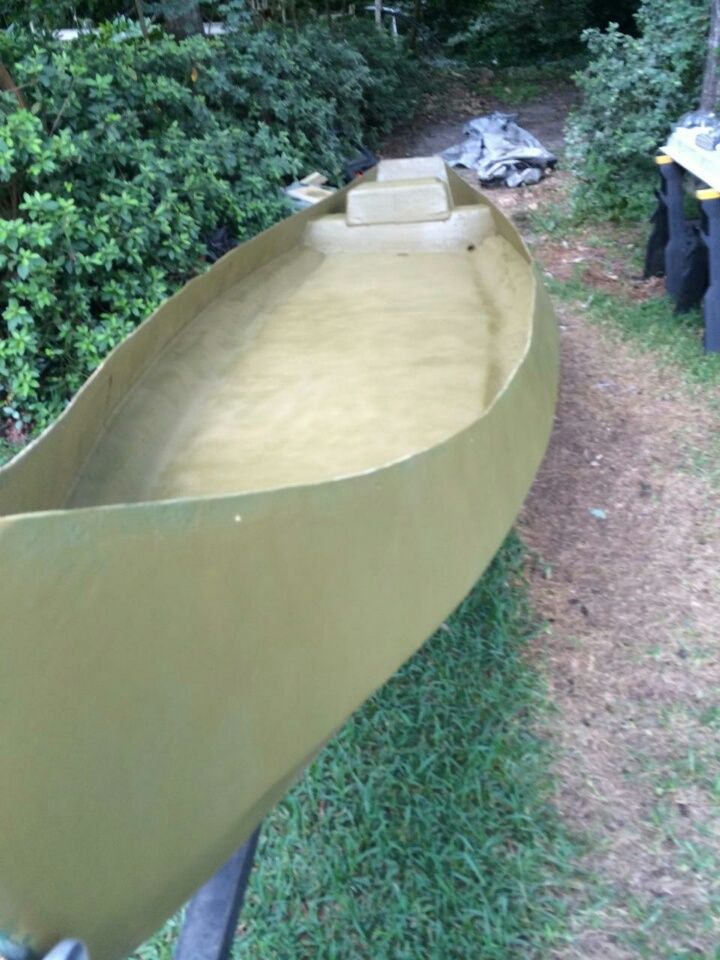
We let it dry, sanded, and applied coat number two.
The next step was adding the webbing. We'd never done this before, but the webbing paint from Michael's made it idiot-proof.
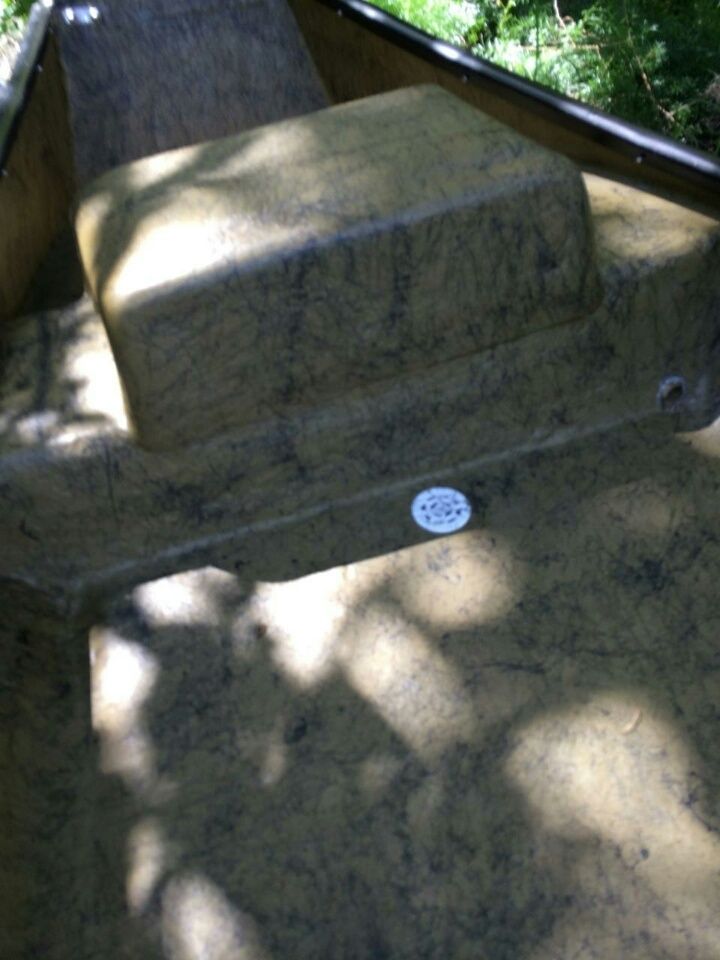
Here's the final product...I'm sure I've missed a step or two along the way.
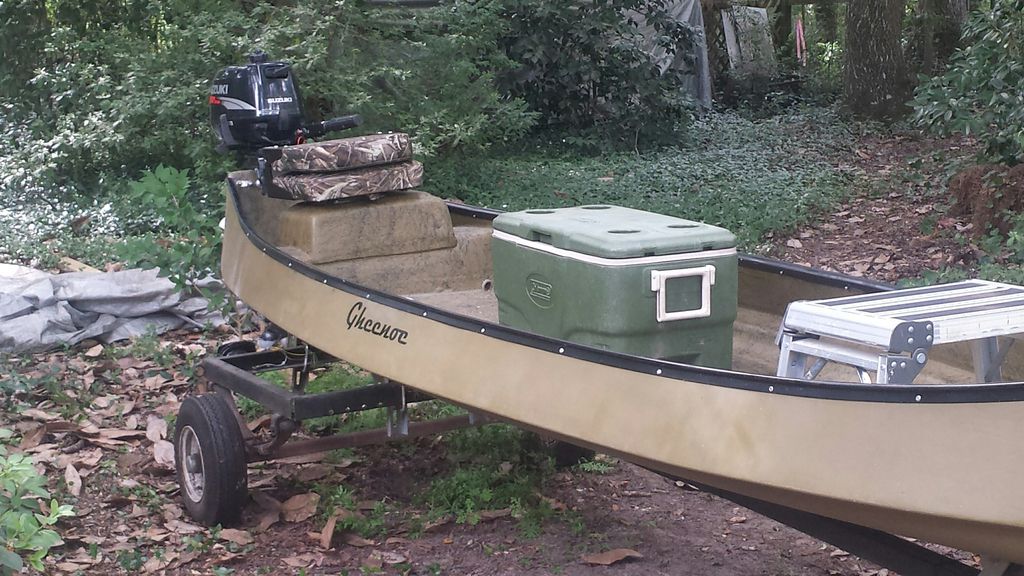
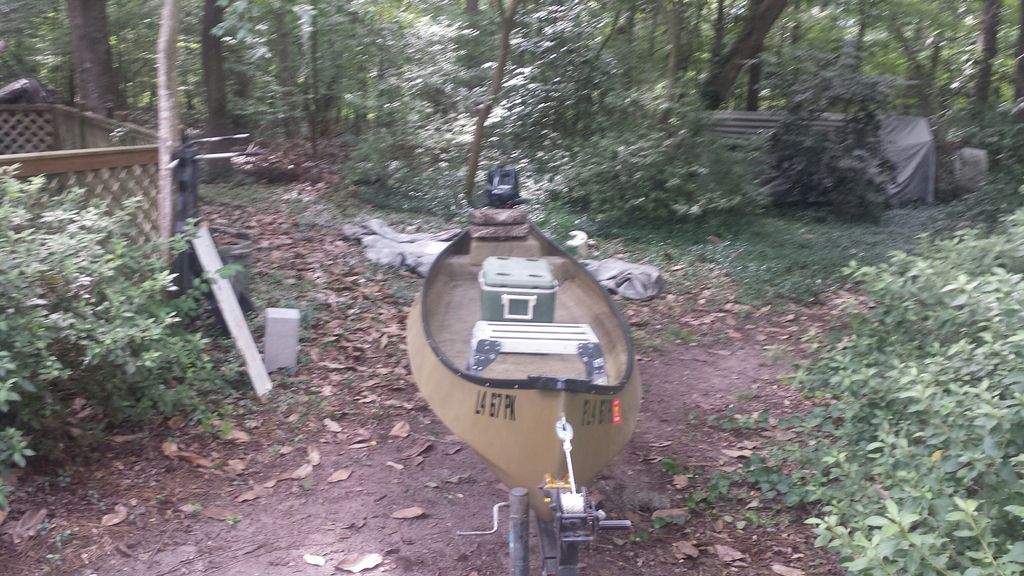
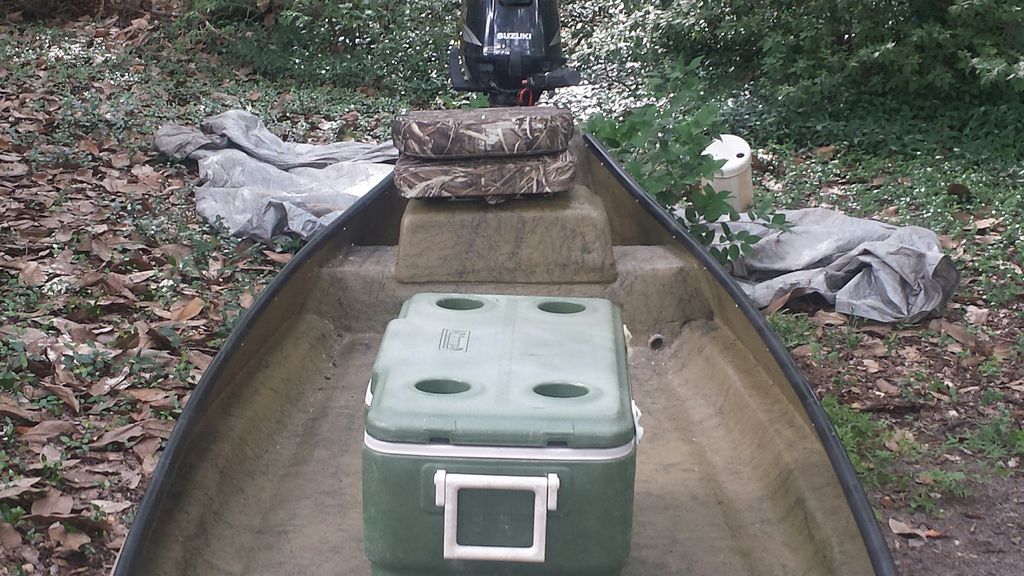
I really enjoyed bringing this boat back to life - mostly because I got to spend lots of quality time with the old man. Now it's on to our next project...a 2005 Classic! Hopefully I can do a better job documenting the makeover in steps instead of trying to do it all in one...fun to relive, but a helluva job trying to remember all the stuff we did and in the correct order.
