
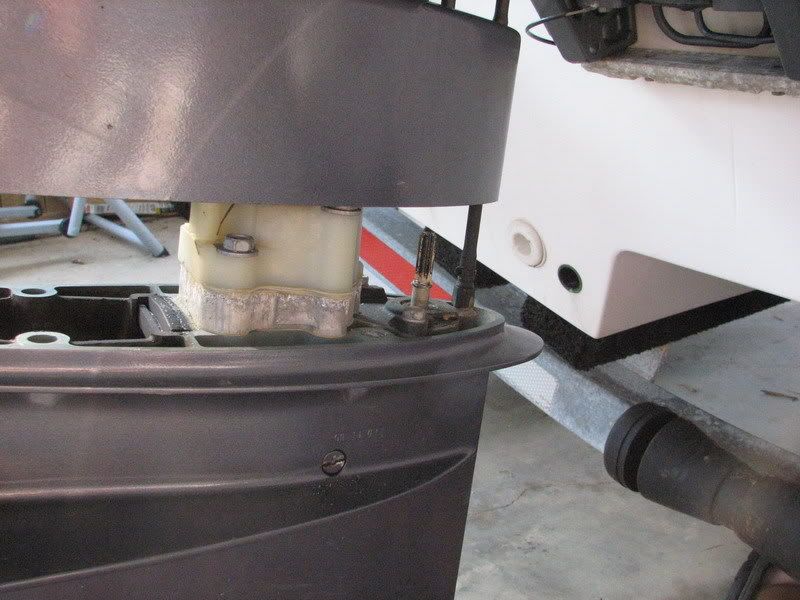
First thing is remove the bolt that holds the anode, mark its alignment for re-installation.

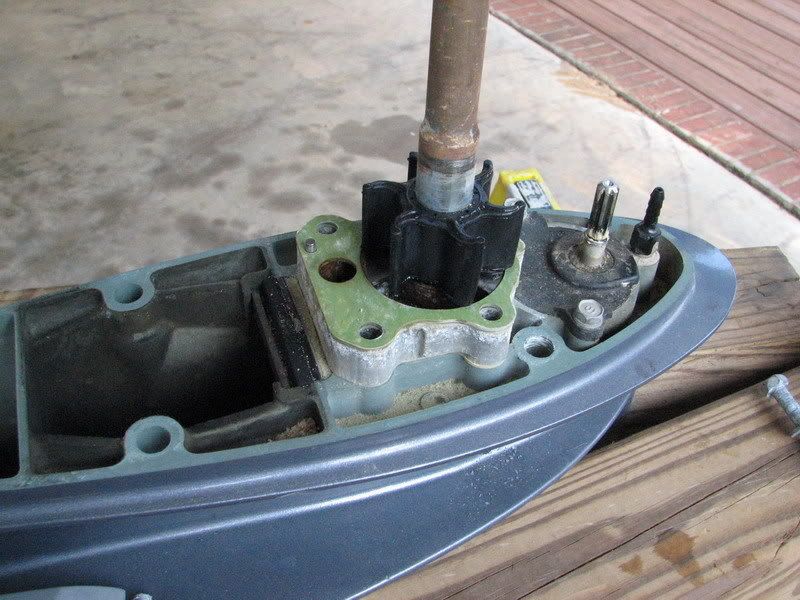
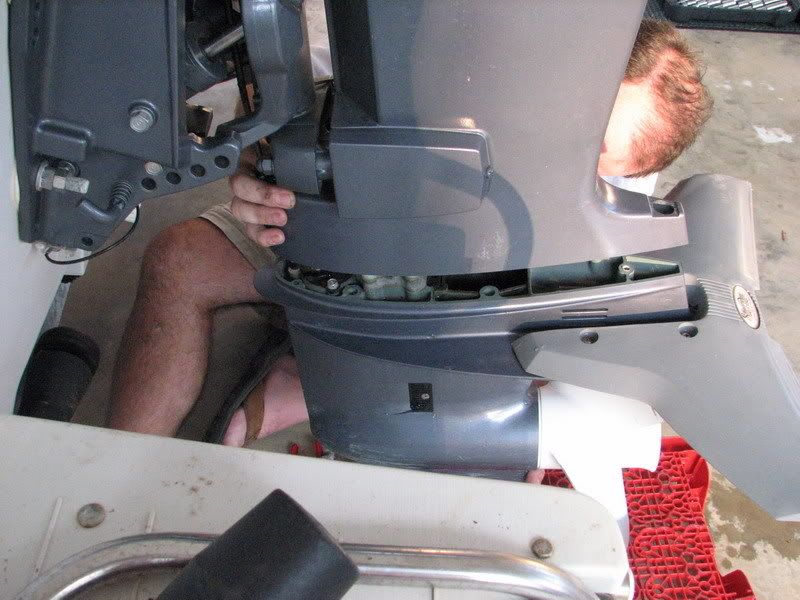
After we removed the bolts, the two half's did not easily separate and had to use a mallet to get to this point. Remove the wire tie that connects the speedo tube.
Rigged up some cross braces to put on the saw horse.
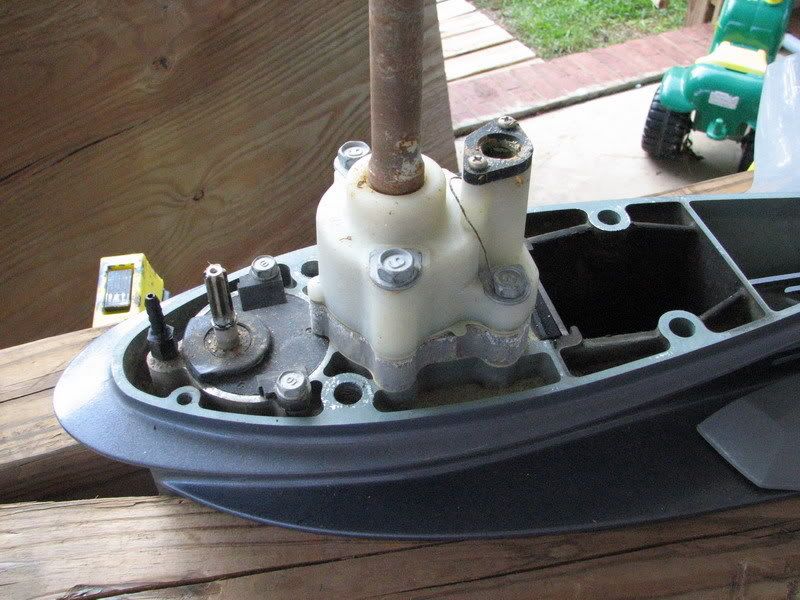
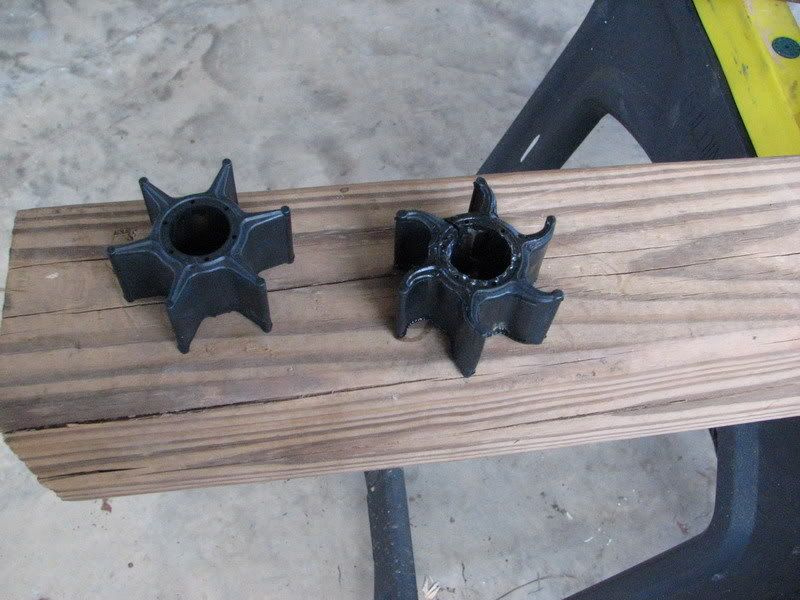
OK, we are at the impeller, but do not believe it will slide off, it had to be cut off.
Straight new, old curved. I should have got a pic of this step, but did not. Installing new, will slide down the shaft until the end, will not slide any more. Took a wrench that was bigger than the shaft, slipped it over, and tapped on the wrench to move the new impeller in place. There is a slot in the impeller that will line up with a key. Now how are you going to put back on the cover with a new straight impeller where that curved one came out of. Well we used a wire tie and tightened it just enough to adjust the new impeller put the cover on and ready to put back together.
Putting this back together seemed worse than taking it apart. Since we had to use a mallet to take apart, putting the two half's back together was a pain as you needed to push and twist or shake a little at the same time, but finally got her back together.
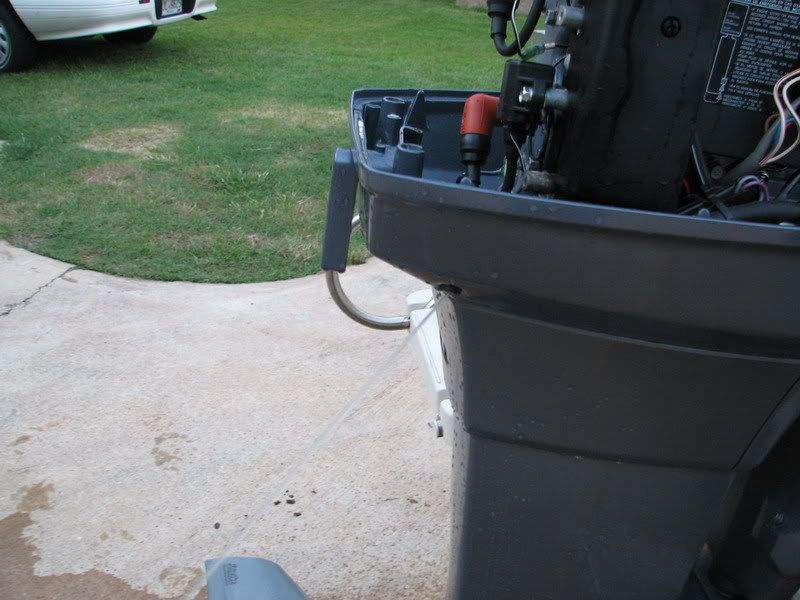
Steady stream on the ops check..